, ,

Warsenal


This week in the post I received a bundle of Warsenal scenery. Two of small island, two of their garbage container, two of their tech console, and a set of their square planters. Over the last few days I spent some time putting a few of them together.

Everything

A little tidier, as you can see I couldn't wait and the island is already complete

The first model one I assembled was the small island pack. Everything came out of the sprues easily and without needing any tools. Some minimal filing could have been useful but wasn't necessary. For some reason I have yet to determine Warsenal also use a plastic sheet for some of their stuff. I guess it might be good when they want a thinner sheet to work with? I'm honestly not sure. In this case the planter in the middle has a plastic surround with some nice detail on it. The back and seat of the benches are from this material. Delightfully there were also two bonus elements included, one a dataslate and the other a brief case, very very nice. Might be good for a mission to capture, otherwise it just makes for nice detail.

Finished small island

And from the side

Some detail on the extras

Next up I had a look at the garbage container. This one wasn't as obvious to put together and I was a bit bewildered at first. There are no instructions included however, there is a handy link to http://youtube.com/warsenalgames which has videos for everything. I was a bit caught off guard at first, but it was a really good move. Unlike the MAS stuff you definitely have to use glue for these. On the other hand, the joins are not as tight and I never felt like I was going to break anything.

On the sprue

In a pile

All together!

and the side

This is just big enough for a trooper to climb in and use it as cover

Out of all of them I was probably most excited by the Tech console. Having some neon plastic as part of the scenery is really frickin cool. As the store I got them from didn't have any other colour I went with the orange! I suspect it will look a little better once the wood is painted and it has a better contrast.

As arrived

The contents

The finished product

After these pictures I removed the plastic
The plastic can be easily removed and replaced when needed
So far thats one of everything except the planters, which essentially are the same as the center of the island but more of them. For those I would like to be able to get my hands on a few more blank islands but that will have to wait. I left the benches unglued to the base to keep painting easy. I'm hoping to use some of that rust effect paint from GW on the garbage containers to try get an effect similar to how the Warsenal guys painted it on the cover.
Everything so far.

So far, 2 buildings, 3 2x2 mats, all the warsenal stuff above, and contrainers from mantic and spartan games. Lots of clutter. Next up will probably be another mat and another MAS building. Although looking over my minis maybe I should give them a little more love too!

Read More
, ,

Work so far

 Last week I had intended to put up some pictures of the whole set so far, alas I slacked. This week however I have some pictures!

The garage with one door open

Another shot of the first L-shaped building

View of the garage

Need to work out a color for the garage door

Flash used to show the inside of the garage, kinda boring at the minute

Garage from the back

L Building from the back

Al-Djabel sees his target

The whole show so far
Pretty happy with how things have been going so far. I've done a little more work and trimmed the edges and tidied up the parts of the garage that were still bare wood. Doing these has reminded me that my Haqqislam minis still need a lot of work! Al-Djabel still has patches of white on him.


Read More
, ,

Micro Art Studio Garage - In progress 3

Update! The building is complete.

Fully assembled and sprayed!


From the last update I needed to work on the extra parts. Simple enough, the same procedure as before. Spray all the parts and get them ready.

Parts being sprayed

The above selection are the extra layer of parts that snap on over the main structure. These kinda are the key to the whole MAS look.

Parts already sprayed


Next up assemble everything. For the most part everything went smooth. In a couple of occasions I had to reassess as I'd placed the wrong part on (or the right part the wrong way). Not a mistake to make as these parts snap on pretty tight, but I was lucky. Again trimming the joints is important as the joins are quite tight. 

For the remaining parts, the roof, the ramps, and the garage doors; I assembled them all and then sprayed them after. It worked pretty well and probably saved me some time. Looking at the whole affair I think I might try the next building as a single simple build with a big spray after rather than this part by part approach I currently have. It wouldn't have the layering across different elements, but it would speed things up. Would be good to test the different approaches.

When attaching the ramp I ran into a problem, the section to join is quite tight and needs a good push to fit flush. Unfortunately, when doing this the join broke on me. Luckily, as I was planning on using the pavements this part actually needs to be clipped as the pavement requires the ramp to be flush. The parts to the sides will probably need to be trimmed to make it level, but I haven't gone there yet. The other approach I guess would be to clip the pavement to make the room in that, not really the preferable option.
Broken join

There also is a lot of touching up to do. Any visible wood needs to be painted. Sections need contrast to make things look a bit better. Arrows in yellow maybe? I also missed a few small of the wood parts for the ladder, I figured it would be easier to touch up rather than going through the whole spray affair.

Parts not painted yet

The setup for the building is pretty cool. The garage door can be pulled up and out to open up the door. Might add some in-game fun. I'm planning to redo the garage doors in some sort of contrasting colours. Maybe something bold like a red or maybe just a black to contrast.

Open garage door

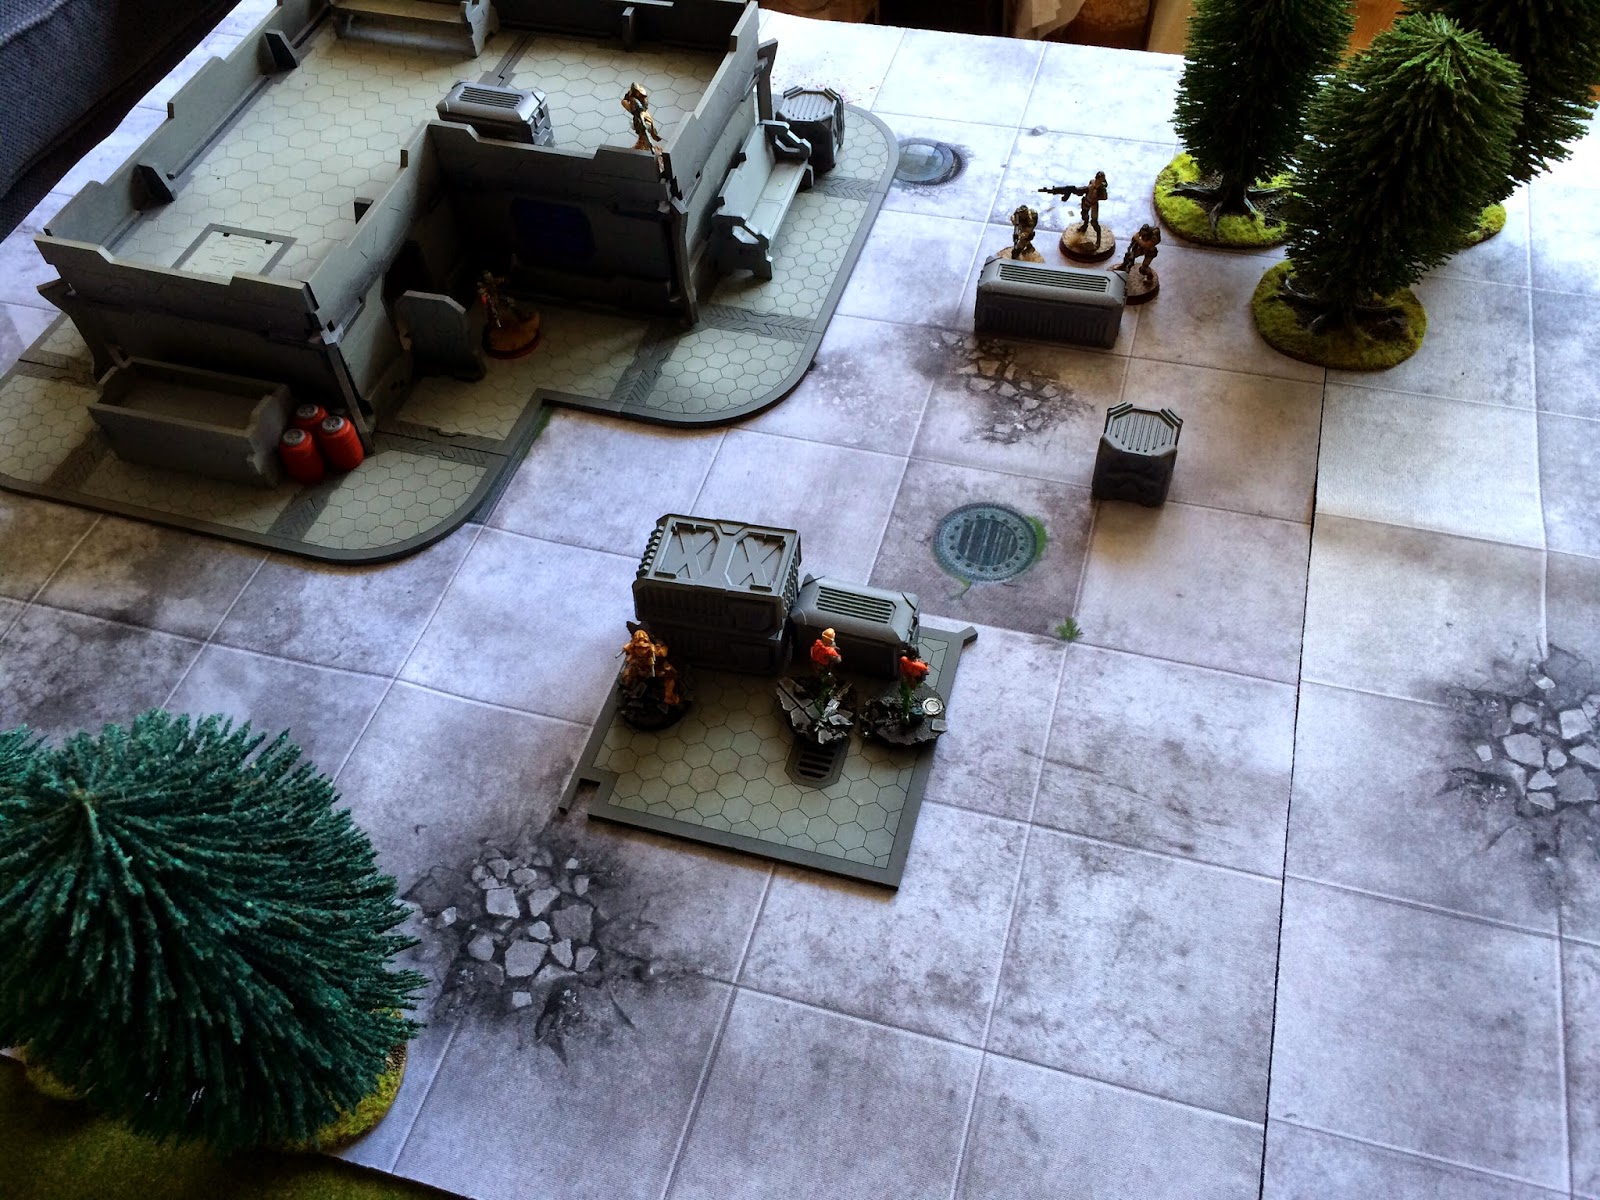
So, a bit still to do. I've started on the pavements. Hopefully by next week I'll have good looking set of pictures showing the full set up with both buildings, pavements, mantic mats, and minis.
Read More
, ,

Micro Art Studio Garage - In progress 2


Slow progress but progress nonetheless. Learning from my previous mistakes I went for a really tight fight this time around and it worked well. Before fitting each piece I trimmed the joint to let the join go easier. Even then I really needed to push the sections together hard. There definitely was a risk of it breaking and snapping but I tried to be careful and keep the force applied straight on rather than at an angle which would snap.
Tiny gab for this join

Nice and tight

Unlike the previous L shaped building which had a long section, this building has two square sections. Adding the base in was a bit tricky in parts and I did have to settle some parts out. For a while I had a cup of coffee sitting in the square to let it settle down. Might justify some white glue at some point.


The two squares side by side

The speckle is messy but works
Another good view of the corner

Next up the two sides needed to be connected. This one seemed simple enough but turned out to be a little tricky. Getting the joining parts into one of the squares was easy enough. A little painful in places as I had to push the piece in hard and the other side was kinda spikey. Pushing the second section in was the tricky part, as the garage front doors are giant unsupporting spaces which leave tiny struts to bend and snap once pressure was applied to them. 

All connected

See the nice join

Added in some of the Spartan games scenery

All and all it's coming along nicely. I have lots more pieces that are still in the wood stage (see to the left of the last picture) and need to be varnished, undercoated, and layered with. I suspect this week will be slow going again, but I'll post an update for next week one way or another.


Read More
, ,

Micro Art Studio Garage - In progress


Right, the MDF sheets arrived during the week so this weekend I got to work on the MAS garage. 
As a reminder the goal here is to get the beautiful effect that all the fancy painters have but without having a airbrush, instead relying purely on spray cans!

The first step was to separate the parts from the sprue. There were a few items where the laser hadn't fully cut so I needed to go a little bit further than just remove the tabs as before. This time around I went to the trouble of removing all the parts at once, at little risky I know, but I only have the one project in the works so all the parts can sit on my worktop.


I took a file to all of the edges where tabbed cuts had left a chunk. I also filed any of the joint connections. Hopefully, this will mean less of the connection issues I had in the previous build. I'll be doing this again after the parts are sprayed as the paint might swell the MDF slightly.

The next step is to start spraying. My first step was to apply GW purity seal, I'm sure any varnish will work. The goal here is to seal the wood so the next spray will go on clean rather than just soak into the wood.


Last time I had a lot of spraying going on, but I didn't have a mask for it which really wasn't a good idea. I did try be careful but I could tell there were issues the day after. This time I got a mask!


The approach here is to give a layered colour going from dark to light. The first layer is pure black, then I spray a dark grey leaving a bit of black at the bottom of the piece. Next a light grey layer cutting in. This adds a nice gradient effect, with the way the pieces fit together layering over each other this can create a nice effect


Another approach is to spray straight into the centre creating a kind of spotlight approach. One of the nice things about both of these options is that you can be as messy as you like, as long as there is some sort of difference and texturing it works well. 


One problem that I have found is where the piece moves, and lands on a previously sprayed part of the backing. This can result in the underside getting messed up. One approach could be to tack the items down, that would be sensible. Instead I've gone for spraying the outside part second so if it does mess up the back a little it's not such a big deal.


 Tune in next week for more progress!


Read More
, , ,

Mantic mat with Micro Art Studio buildings

Not much progress for me this week but I did want to put something up. My local gaming store had some of the Mantic games mats available. I had searched around and saw one or two people using the mats with Infinity, but no one had matched them with the Micro Art Studio buildings. 

The new mat in action

Honestly since I'm using the footpaths the whole thing might look at bit better with a full black board to mirror tarmac. Nonetheless, the mats were 50% off so I said what the hell. It looks good! The extra detail is a step up form the mottled grey cloth I had been using. The mix of hexes and squares is a bit strange, but I'm happy with it.

Need more mats and more buildings!


Unfortunately, two mats combined give me a 4 foot by 2 foot area, so I need to go find another two mats before I get started. Luckily I have time. Having the building out gives me a decent idea the amount of scenery required to make the whole thing look good. Horrifically 9 elements in total looks like the right number. That said not all needs to be a micro art studio building so I'll see how that works out.

On the painting table at the moment are some crates and scatter scenery, some of which can be seen in the above pictures primed in grey. Once they're done they'll be a bit more colourful and will add more of the Infinity feel to the scenery.

Spartan scenics warehouse accesories 

I've also ordered a few more bits and pieces to get working on the next building. A MAS garage! I popped a quick email out to the MAS guys to check if the footpath for the D5 building would work with the garage, I was a little worried the ramp would interfere. They responded with "Yes, the parts are interchangeable." which might mean it will all be kosher or might mean they misread my question and didn't see the part where I said pavement.

Newly ordered garage

Lots to look forward to working on it. Along with it was also ordered pavements for the district 5 building which should be the right size for it (assuming the ramps are okay). Also in the order were some of the holo ads


This should go a good way to fill out 1/3 of the overall board once its all together.


Read More